Let’s be honest: Many student filmmakers don’t have the time, money, or knowledge to produce a film of professional quality. Students at the New York Film Academy have access to high quality camera, lighting and sound gear, but it never hurts to know a few extra tips and tricks to create a more polished looking film on a shoestring budget.
Check out these student film hacks, below:
1. For Static Shots: Get yourself a tripod. Seriously. When you need a shot to be static, having a rock steady tripod really makes a difference.
2. For Moving Shots: Build a homemade dolly. Get your hands on a couple of PVC pipes, fasten some tiny wheels (like from your old skateboard) to a wooden plank and you have yourself a homemade dolly on the cheap.
3. For Smooth Handheld Shots: Can’t afford a steadicam? Build your own. Homemade steadicams can be surprisingly affordable.
4. Work with Natural Light: It’s been said by many professional cinematographers that the best lighting is provided by nature. Just check out the stunning work of cinematographer Nestor Almendros on “Days of Heaven,” for which he won an Academy Award. All it requires is the discipline and patience to be at the right place at the right time of day.
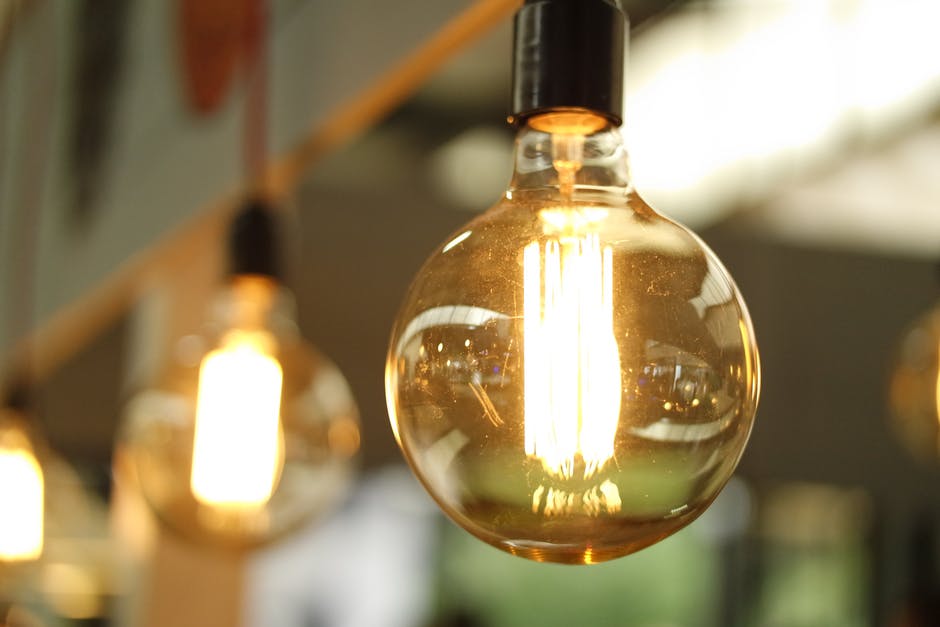
5. Work with Practical Lights: Practicals are the actual lamps and lighting fixtures found on location. As much as we would all like to use professional lighting units, that’s not something a shoestring budget usually allows for. But a well-placed practical not only creates a natural lighting effect, but gives you the added flexibility of turning the light on and off during the shot. In addition, cheap dimmers can be purchased at almost any hardware store and will allow you to creatively set the light intensity you want. If you’re shooting indoors, check out how available lamps look on screen. https://www.youtube.com/watch?v=S_50Yy1vDT8
6. Diffused Lighting: Naked bulbs are perfect when you want hard-edged shadows, like a basement scene in a horror film. But if you’re looking for softer lighting, there are a number of inexpensive products that can replace the need for expensive gels. Wax paper and frosted shower curtains are just two examples. These items are not only cheap, they’re lightweight, can be cut into any size you need, and are easily disposable when you’re done.

7. Sculpting and Shaping Light: One of the keys to lighting well is sculpting and shaping the light. On professional movie sets, this is done with a grip kit. Grip kits contain flags, nets, silks and scrims — expensive tools used for this purpose. But with a little ingenuity, cheap substitutes can be found. Here are just two examples: When you need to block light from part of the set, black poster board can be cut and bent into any shape you need. It has the added advantage of being lightweight, enabling you to hang it in place with painters or gaffers tape. And aluminum foil can be wrapped around a light to focus it into a spotlight or even a pinhole of light.
8. Balancing Colored Light Sources: When mixing daylight with artificial light, the results can sometimes look unprofessional because daylight is bluish (colder), while lamp light is more red (warmer), and fluorescent lights tend to be green. You may like this fruit salad of color, but if you want a more professional look you’ll want the color of your light sources to match. One way to achieve this is to replace all the light bulbs with daylight-balanced bulbs. You can purchase these at a lighting supply store but less expensive versions can often be found at supermarkets and drug stores.
9. Everything Looks Good in Black and White: This may be more of a opinion-based tip, but even with the noisiest, grainiest, lowest quality of video cameras, black and white can act as a last-minute savior! Black and white will also cure problems of mismatched color from your lighting sources.
10. Cheap Lighting Effects: Need your actors to look like they are being lit by a TV screen or a fireplace? These effects can be easily produced with some inexpensive supplies. Randomly moving a piece of black poster board in front of a soft source of light can reproduce the intermittent flickering of a TV screen. The traditional method is to put a piece of blue gel over the light.
Similarly, by taping strips of orange gel to a broomstick and then gently waving it in front of a soft source of light, you can reproduce the flickering of a fireplace. In both cases, sound effects can go a long way to enhance the effect. Until you have the resources and funds available to get your hands on the gear the pros use, these hacks will do the trick.
By the way, it isn’t just student filmmakers who can benefit from these tips — low budget and indie filmmaker have used these low-budget techniques for decades. And don’t let these tips be the end of your experimentation: With a little imagination and ingenuity, you can come up with all kinds of startling effects.
Ready to learn more about filmmaking? Check out the New York Film Academy’s programs in filmmaking.
